
How To Create DIY Home Video Recording Studio For Online Courses?
The e-Learning industry depends on video graphics content to engage their clients and capture their learners’ attention. Surveys done by learners worldwide indicate a high preference for video content for online courses. Put simply, courses containing good quality video content have a higher chance of selling on various platforms.
Are you worried about creating good video content from home?
Do you want to create a recording studio on a tight budget?
In this article, we’re going to share some low budget tricks that can transform your home into a DIY video recording studio in no time.

-
How to shoot with simple everyday gadgets
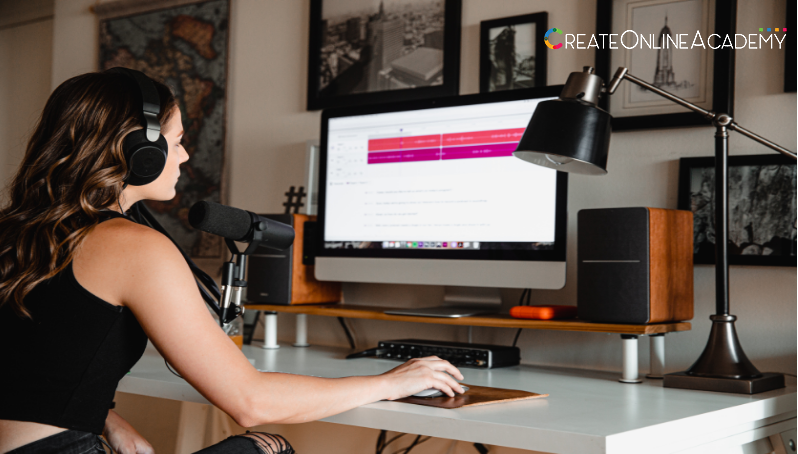
First, you need to select a device such as a laptop or a phone that will be your primary recording device.
After selecting this device, you can further test your lighting and background to figure out what works to showcase the video you’re shooting aesthetically.
Besides high quality, widescreen viewing and ambient lighting play a considerable role while you’re shooting a video that your learners will view over various platforms and devices. If you’re using a laptop, make sure that it has proper support to stabilize and smooth your video.
-
Lights, camera, and smile
A good video has multiple elements that compel the viewers to watch it to the end.
For the most professional shot of your face, you need to experiment with your camera lens’s height and angle.
Remember, you can use low budget tripods or props to level your camera lens up to your face level so that the video captures your expressions smoothly.
If you’re using a laptop, then you can go for an even more straightforward trick. Use stacks of books or other objects to prop up your laptop and angle it correctly.
-
Create, Edit, Share
Many creators prefer to get a perfect shot at one to go to share it immediately with their learners.
However, editing can give you an edge with its multiple benefits. Mistakes, poor framing, blurred portions, and unflattering angles can be easily covered up or cut out using the right editing tools.
While editing your videos, remember to keep an eye out for out of focus content as it profoundly affects your learner’s engagement with the content.
-
Use a separate device as a microphone
Research shows that devices such as laptops and smartphones cannot capture sound adequately while being stationed at face height.
To put it simply, you can’t use the same device to record your video content and expect it to capture high-quality sounds as well.
You can choose to invest in low budget microphone devices, or you can also use a separate device to record whatever you’re saying. During your editing phase, you can easily splice the sound and video together.
-
Use markers and comments
Whenever you have two different devices acting as your microphone and video recorder, it is essential to have visual cues and markers to note the particular frame where you’ll need to splice your audio and video together.
While apps and other expensive gear make this task more comfortable, you can also use expressions or hand movements as cues or markers.
-
Background and aesthetics
Professional course creators and famous eLearning gurus have always stressed the importance of clean background and ambient lighting.
Generally, your rooms may be messy or may not have enough lighting except for particular corners.
To overcome these pesky troubles, you can use large fabrics or aesthetic backdrops. Remember to keep your choices professional.
A vibrant backdrop may end up washing out the subject of the video. Another pro tip is to eliminate echoes and other background noises that take away attention from the main content. Choose a studio room in your house and try to stick to a scheduled time when there’s less likelihood of disturbances.
-
Technical details
To make the viewing experience smooth and pleasant for your learners, we suggest using 24 frames per second while recording your content.
Most video recording and editing tools will have a simple setting where you can flip to 24 FPS or even 60 FPS if your recorder supports it.
These technical details may not seem like much, but they enhance the viewing experience a lot.
So, you can now see that you don’t need to buy expensive gadgets or hire a studio to create relevant video contents. Moreover, at CreateOnlineAcademy.com we also offer your guidelines to create the ultimate learning videos from our experience of dealing with hundreds of online educators, spread across the globe.
The ultimate philosophy of CreateOnlineAcademy.com is to offer a flexible platform for the online teachers where they can create and sell online courses based on various learning topics. The multiple design tools allow the teachers to create the most engaging content that keeps the learners hooked.


